Debian Linux for PPC Macs
8th Feb 2006, 22:21:18
I was asked how I installed Linux on my Blue and White Power Mac G3. In this example, I will be setting up a dual Boot OS 9 and Debian Linux system. You could just as easily dual boot OS X and Linux with very little adaptation.
Preliminaries
Download and burn download the debian netinstall iso. If you have a NewWorld (B&W or later) Power Mac, you can just burn the iso to a CD, plop it in the drive and reboot whilst holding C. OldWorld Macs must use a different procedure.
In order to install Linux, you'll have to either install an additional disk or destroy the data on an existing disk and partition it. If you want to partition a disk, leave the disk space you intend to use for Debian as free (unpartitioned) space - the Debian installer can create it's own partitions to install onto.
If you want to use just one disk, do this by booting from the OS 9 CD. When OS 9 boots, open Drive Setup from the CD, click on the drive you want to work with and click 'Initialize' (sic). Choose 'Custom Setup...' and heed the warning about destroying all data! Create a Mac OS Extended partition big enough for OS 9 and leave the rest as unallocated. You will need about 4 GB unallocated space for a useful Debian system. Once the disk has been initialised, go ahead and install OS 9 onto the Mac partition. I love how fast OS 9 installs on this G3!
Installing Debian
I advise doing a network install, you just download a smallish iso to boot from, then the installer will retrieve just the packages needed, saving time and bandwidth. Clearly, for this to work you must have an internet connection. If you want to try this over dial-up, I pity you.
Boot from the CD. You'll get an unfreindly boot: prompt, just hit return. When the installer proper boots, you'll be invited to choose a language, country and keyboard layout. If the installer looks quite old fashioned and clunky, that's because it is! Use the arrow keys, tab and enter to select options.
The next step configures your network connection. If you Mac has more than one ethernet interface, as mine does, you'll be asked which one is connected to the internet. The installer attempts to configure through DHCP, providing the option to configure manually if this fails. You'll be asked for a hostname (this is the name of your Mac, you can make something up) and a domain name (set this to 'local').
Partitioning comes next. If you are sharing one drive between Mac OS and Debian, you should choose to 'Use the largest continuous free space'. If you are using a dedicated drive, tell it to erase an entire disk. For the love of FSM, please choose the right drive! It may ask you for a partitioning scheme - if it does, choose 'All files in one partition'. Choose 'Finish partitioning and write changes to disk'. You'll be asked to confirm by answering 'Yes'. This is your last chance to back out because at this point the installer is going to write out the new partitions and create filesystems.
Put the kettle on, because the installer is now fetching the base system from Debian's servers. When that's done, yaboot gets installed and the installer asks you to reboot. It says 'Installation complete', but it is fibbing! The second half of the installation happens when you reboot.
After rebooting, you'll see the boot: prompt. You can either wait 10 seconds or press enter. You'll see Tux the penguin in the top left (two tuxes if you have a dual processor Mac!). The installer starts once more and asks if your clock is set to GMT, answer 'No'. Now, you'll be asked about your timezone, etc - answer truthfully. When you are asked for a root password, pick something nice and strong - you will have to enter this very infrequently, so it doesn't matter if it is hard to type! The installer also helps you create a standard user, which you will log in as for day-to-day use.
APT (advanced package tool) is the program Debian uses to install, update and remove software, you're asked to configure it here. Choose http as the access method, select your country and select a mirror close to you - ftp.<country>.debian.org is a good bet. Leave the proxy blank unless you are using one. APT now goes off and retrieves a package list from the apt mirror you chose.
Package selection is the next step. If you intend to use the GUI, select 'Desktop Environment' which installs Gnome and some other stuff like OpenOffice.org. I recommend that you leave all the other options unchecked for now (it's trivial to install extra software later as you will see). There's time for another cup of coffee while it fetches a load of packages, 500 MB or so if you chose to install Gnome.
More questions! When asked for your videocard chipset, choose ati or nv. If you don't know the chipset, choose fbdev. 'Yes', use the framebuffer device, 'yes' attempt mouse autodetection. You will now need the specs for your monitor, if you know the horizontal/vertical sync etc, choose advanced, otherwise choose medium.
You will be asked to configure an MTA, just accept the defaults for now. At long last, you'll receive a message informing you that the install is complete and ready for you to log in!
You will get a graphical prompt asking you to log in. We want to log in as root for now, which we must do through the console, so press control+option+F1 and log in as root. There's a couple of packages we need right away (the # means the prompt, don't type it!):
# apt-get install vim sudo
Please note that from now on, commands are CaSE SensiTivE!
You need to set yourself up as a sudoer (so you can get root privileges without logging in as root). Do this by typing 'visudo', which is a binary that edits /etc/sudoers using the vi text editor. When vi loads, use the arrow keys to move to the end of the file and press 'o'. Now type (replacing stocksy with your username):
stocksy ALL=(ALL) ALL

Defaults env_reset
Now press escape and type ':wq', then press enter.
Now lets tackle yaboot.
# vi /etc/yaboot.conf
Your yaboot.conf should look like this:
boot=/dev/hdc2

device=/pci@80000000/pci-bridge@d/pci-ata@1/@0/disk@0:

partition=3

root=/dev/hdc3

timeout=100

install=/usr/lib/yaboot/yaboot

magicboot=/usr/lib/yaboot/ofboot

enablecdboot


image=/boot/vmlinux

       label=Linux

       read-only

       initrd=/boot/initrd.img


image=/boot/vmlinux.old

        label=old

        read-only

        initrd=/boot/initrd.img.old
Add a line:
macos=/dev/hdxx
Where xx is the drive and partition Mac OS is installed on, e.g. hdb3 would be the third partition of the second IDE disk. escape, :wq to save and quit. If you have OS X installed, replace macos= with brokenosx=.
Remark: Debian seems to see my hard disk as the first device on the second IDE controller, even though it's the first device on the first controller (hda) - weirdness!
Finally, we need to tweak the configuration of X to get the GUI to display in the right resolution. Type vi /etc/X11/XF86config-4
The X configuration is a bit intimidating, but we're only changing a small part of it, so don't worry. Use the arrow keys to move down to the section called "Screen". There will be four subsections called "Display", delete all of them except the one with 'Depth 24' in it. Insert the screen resolution(s) you want to use, so that it looks like this:
Section "Screen"

        Identifier      "Default Screen"

        Device          "Generic Video Card"

        Monitor         "Generic Monitor"

        DefaultDepth    24

        SubSection "Display"

                Depth           24

                Modes           "1280x1024" "800x600" "640x480"

        EndSubSection

EndSection
escape :wq to quit. Type 'reboot' and press return. Watch closely while it reboots, you'll see that you can press 'L' for Linux, 'M' for Mac OS or 'C' for CD boot! If you choose 'L' you will get a nice graphical login prompt in your desired resolution. Logging in gives you the Gnome desktop:

The basic install comes with most software you could want, but more is available. You cna use synaptic to install Firefox for instance. Go to Applications _> System Tools -> Synapric. Enter your root password when prompted. Here's Synaptic:

Click search and type in 'Firefox'.
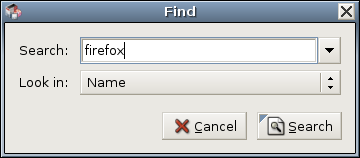
Click on the checkbox next to mozilla-firefox and click 'Mark For Installation', then click Apply. When Firefox has finished downloading, it'll show up in Applications -> Internet.
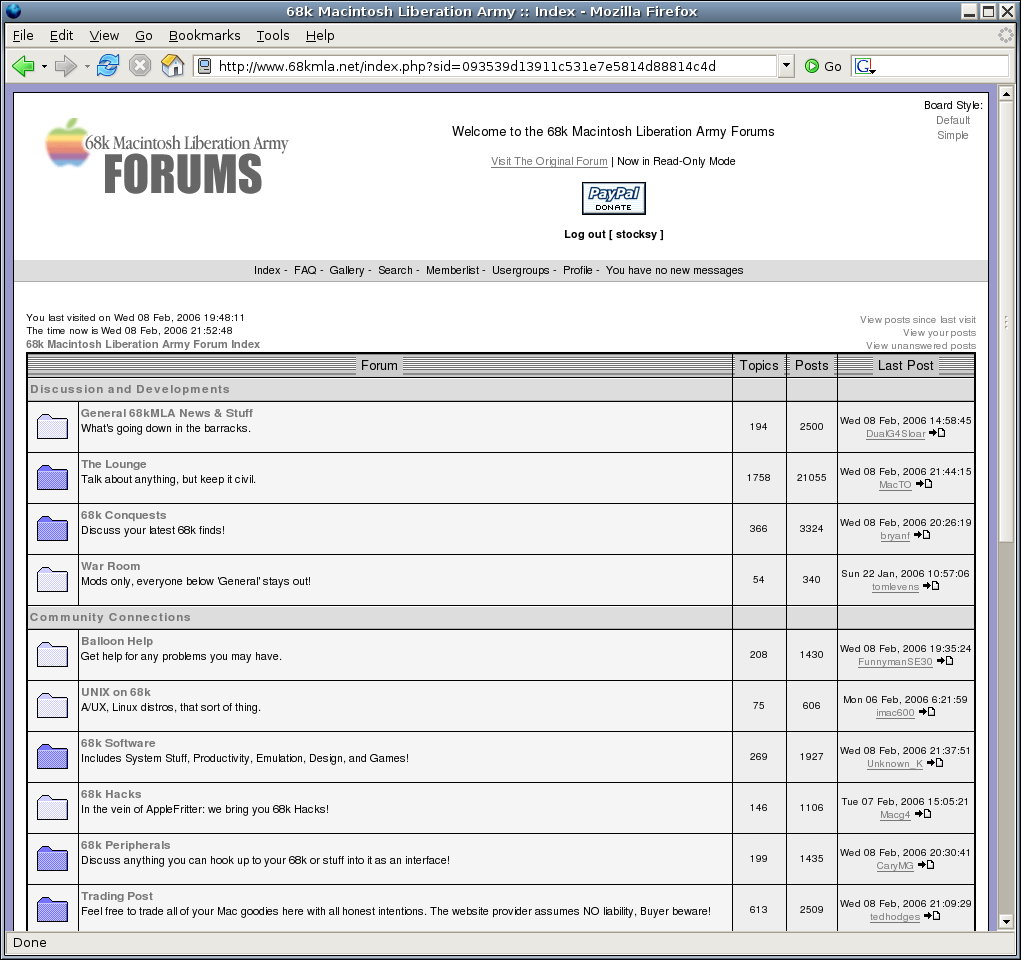
68kmla.net in glorious Linuxvision(TM):