
Build a Firewall with Linux
27th Oct 2005, 21:23:22
I was using a Cisco 827 to separate my network from the internet, but being just a router, it didn't offer firewalling capabilities. My main objectives were to have a flexible and secure firewall that cost nothing.
This guide, like the rest of my site, is really just my own installation notes that I've made public just incase they will help someone else. I am a Mac OS X user most of the time and far from a Linux guru! There are probably much better guides that you could follow.
You will need...
- A spare PC (or Mac, Sun SPARC, HP-PA, whatever)
- Two ethernet interfaces for the above
- To have some idea of how to work with the command line
The estimated cost of this project is £0
Download and Install
Get the Network Install ISO. Burn it to a CD with disk utility and boot your PC with it.
When you get the boot screen, just hit enter.
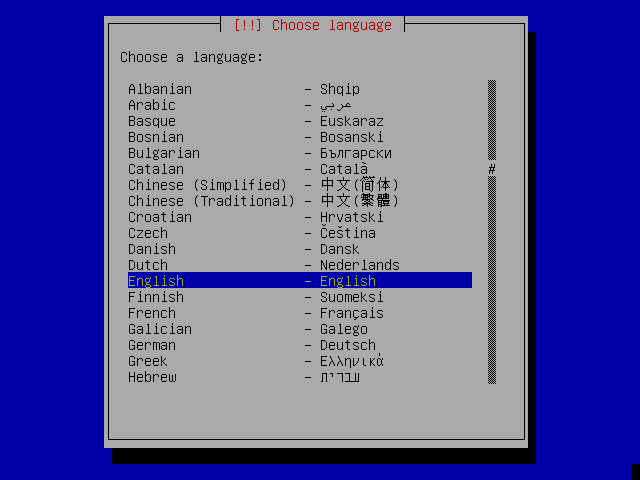
The Debian installer is not pretty, but it's easy to use and it works. Select the language and keyboard settings that you want:
Choose a hostname for your firewall, use lower case.
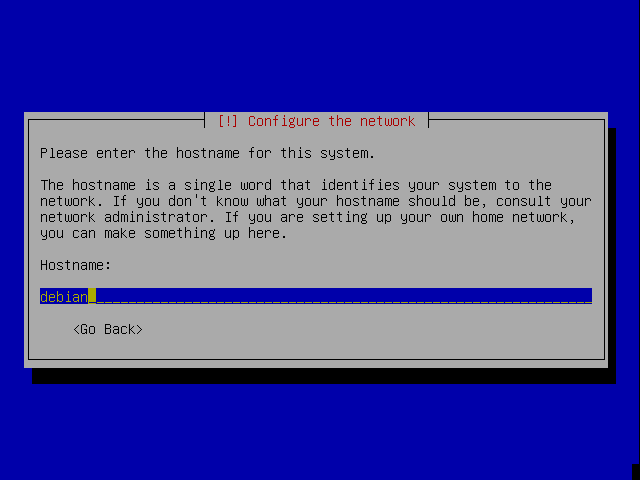
If you don't have a domain, just use 'local'.

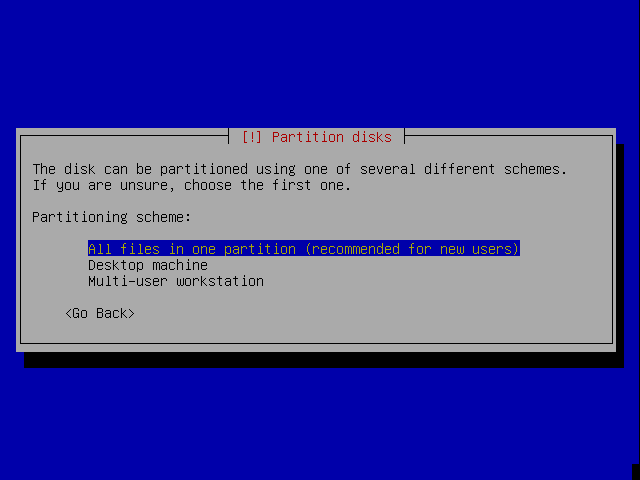
Erase the whole disk. This will delete all your data, but that's probably what you want in this situation.

Put all the files in one partition.
Choosing finish applies the changes.

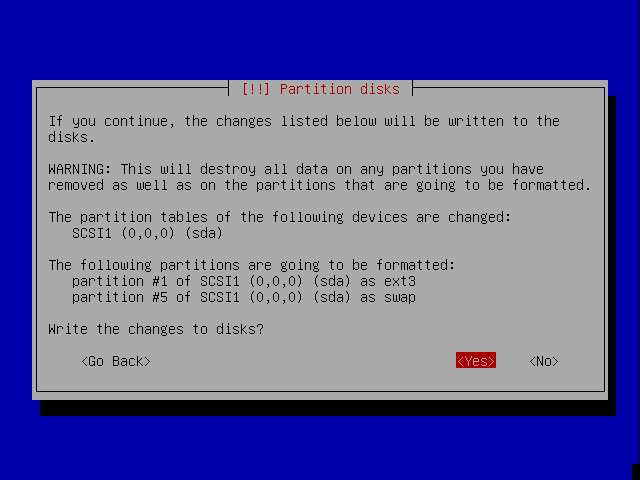
Last chance, choose yes to continue.
There is a bit of a wait while the base system is installed. On my Athlon, this took just the right amount of time to make some coffee.

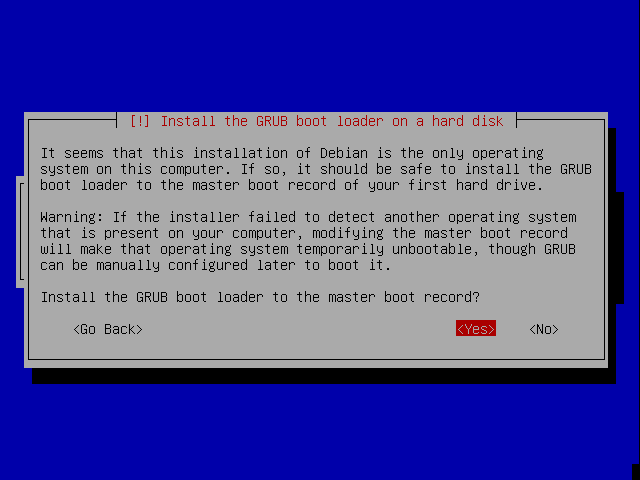
The installer asks if you want to use GRUB to boot Debian, say yes.
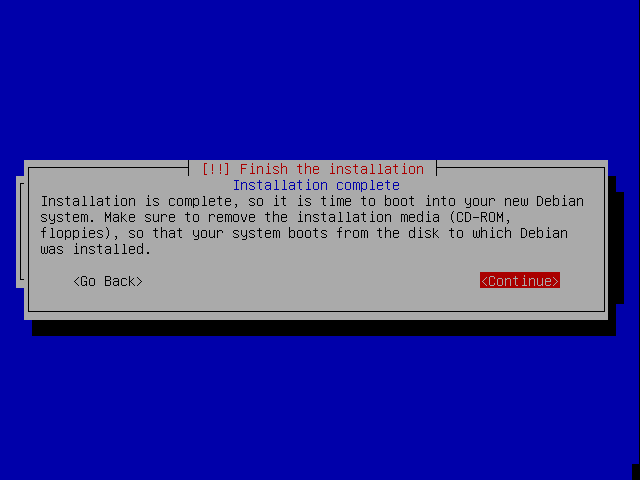
Take the CD out and press enter to reboot.
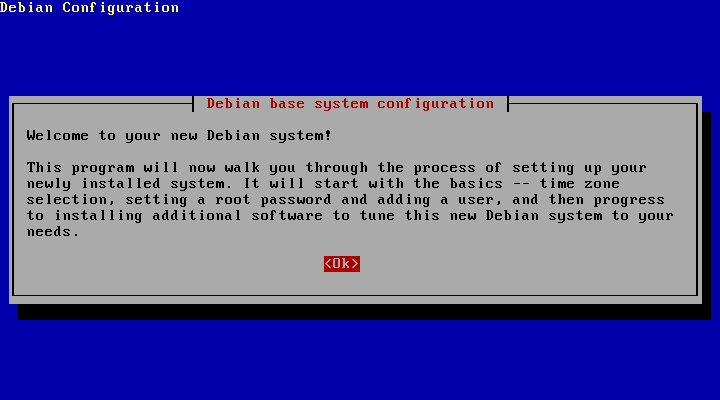
If all goes well, you'll see the welcome screen.
Asks if your clock is set to GMT. It probably isn't.
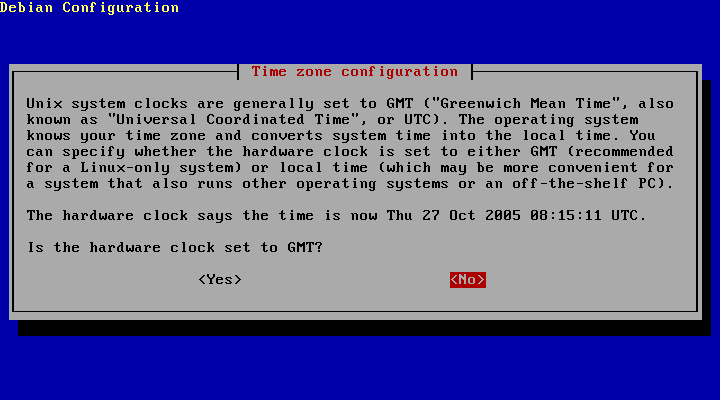
Choose your timezone.

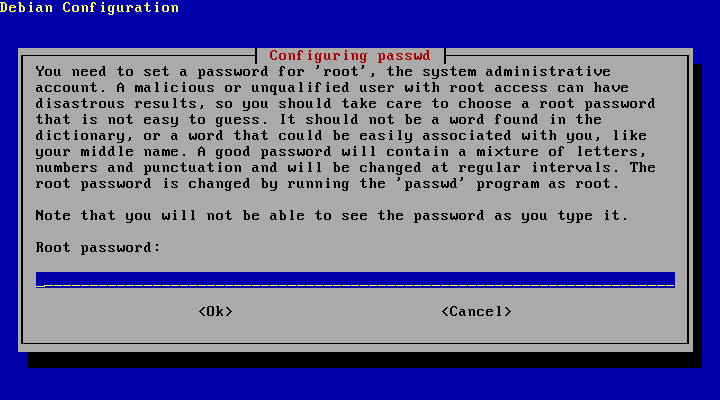
Choose a nice long, strong root password, enter it again when asked to confirm.
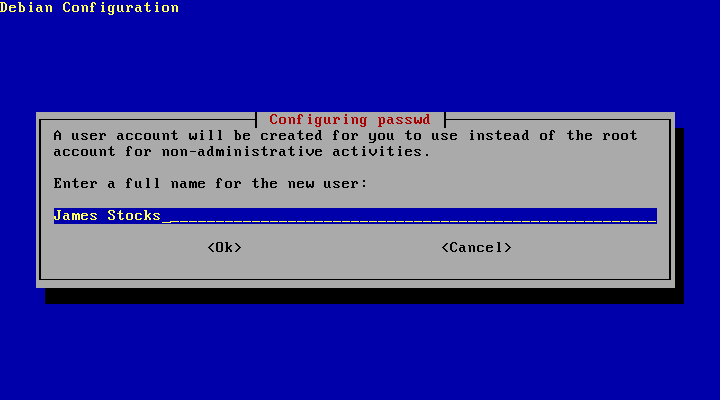
Enter your full name.
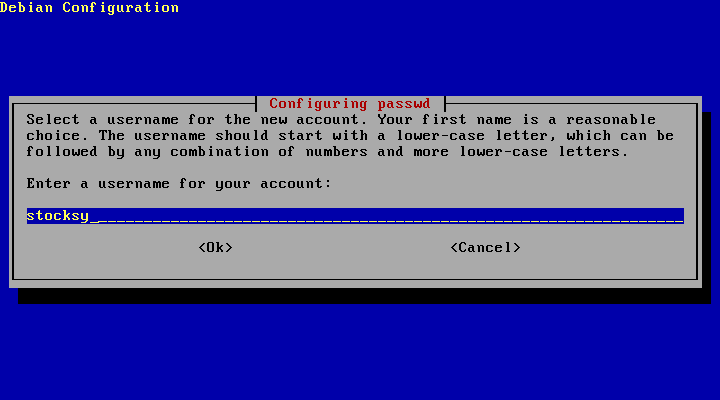
Pick a username. Pick a non dictionary hard to guess word (choose a better one than stocksy).
Pick a nice strong password that's hard to guess or brute force but easy remember. Confirm it when asked.
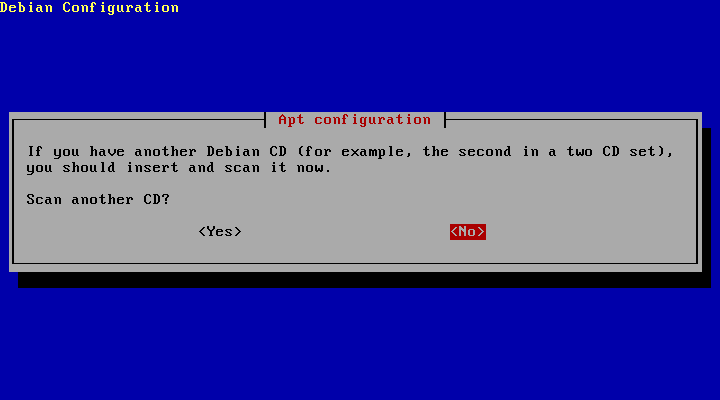
You're asked if you have another CD. I didn't so I said no.
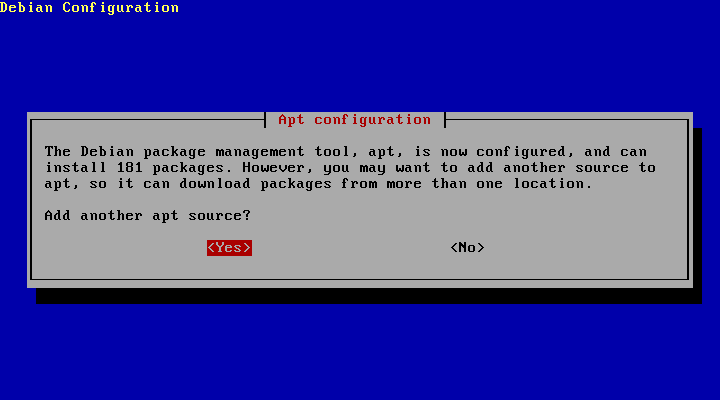
It asks if you want to add more sources to APT. You do, so say 'Yes'.
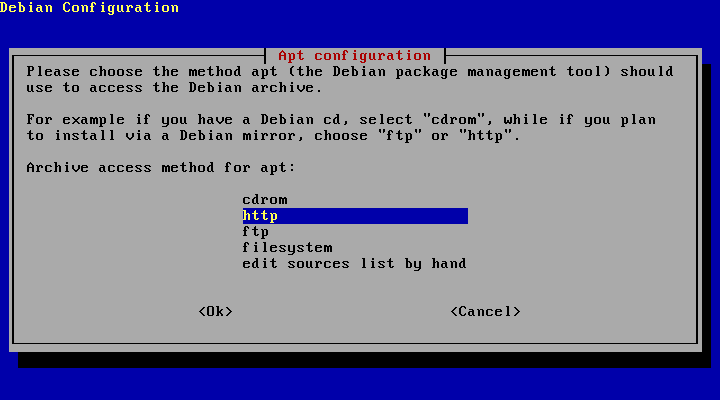
Choose http, because it is easy.
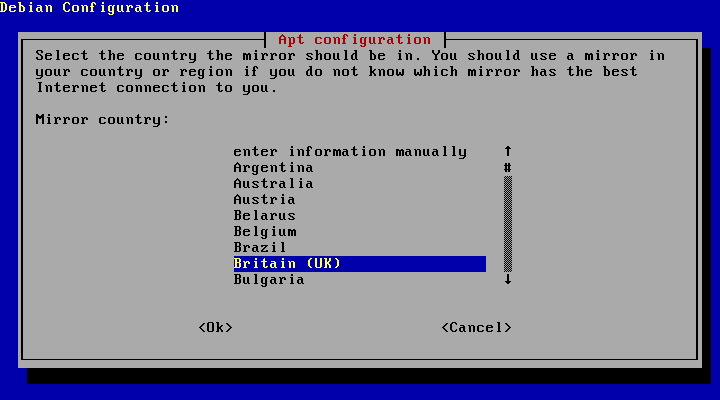
Choose your country, or one near you.
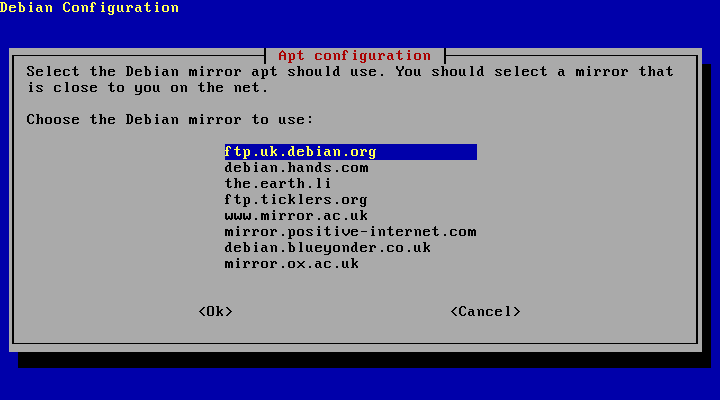
Choose the mirror you want to use. ftp.country.debian.org is usually a good choice. Do not be put off by the ftp part, it will actually use http.
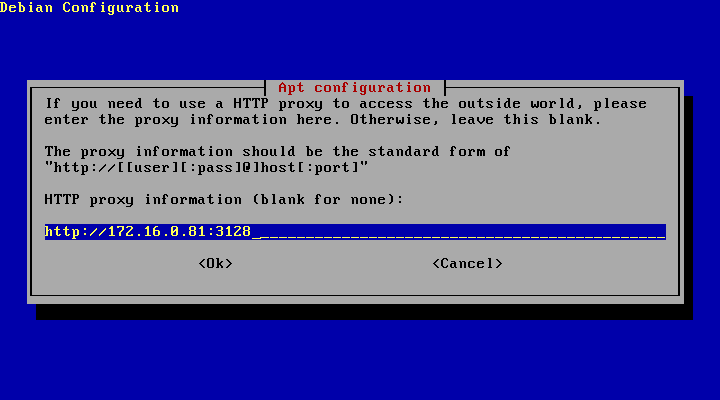
If you have a proxy, this is where to specify it. If you need to authenticate to it, do it like this http://user:pass@hostname:port
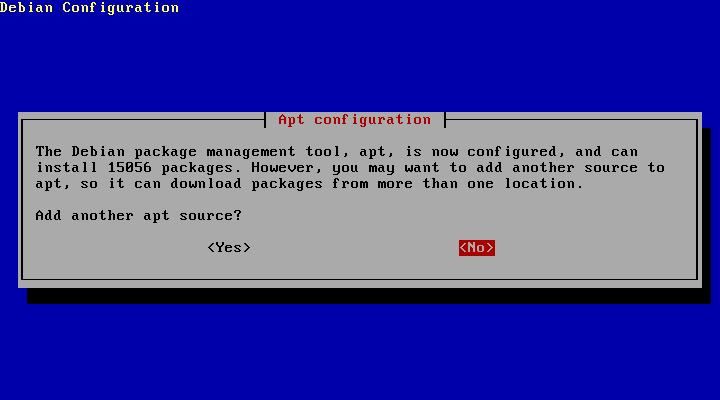
If it pleases you, add more sources. I didn't want to, so I chose no.
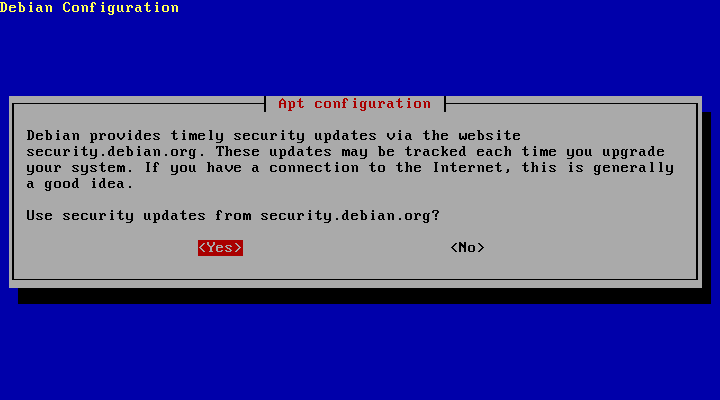
Security updates. You want those.
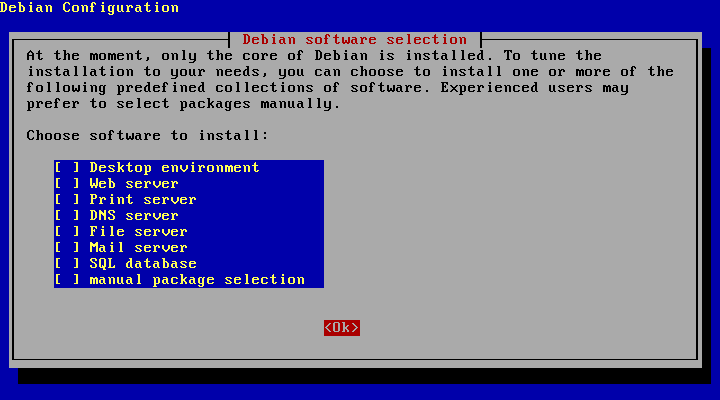
Don't select any extra packages, we just want the base system. You can very easily add extra packages afterwards as you need them.
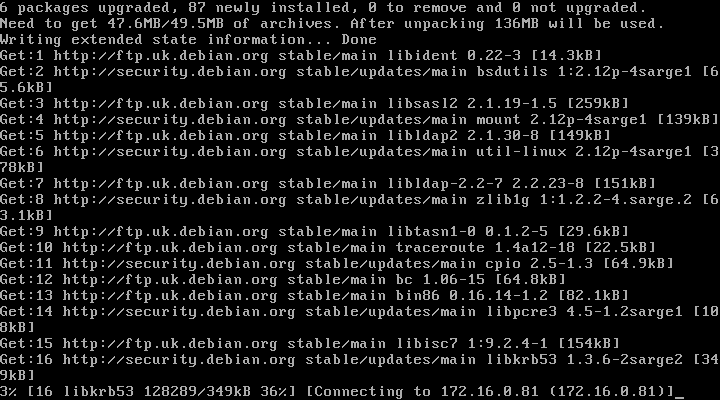
APT downloads and installs all the necessary packages for you. On my connection, this took about 3 minutes, but your experience may differ!
I didn't care, so I just chose the default.

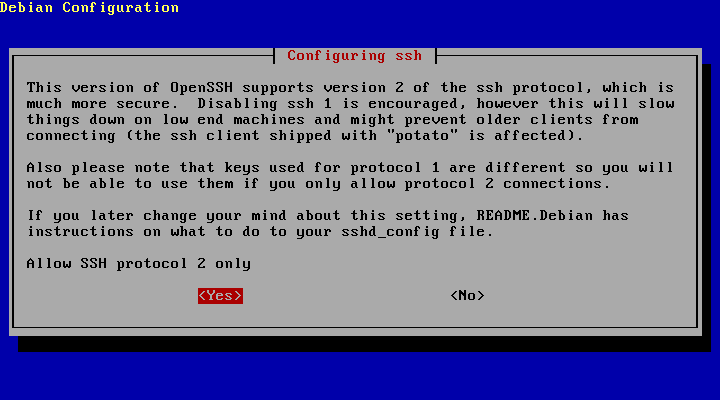
You will want to disable SSH1 as the installer suggests, so say yes.
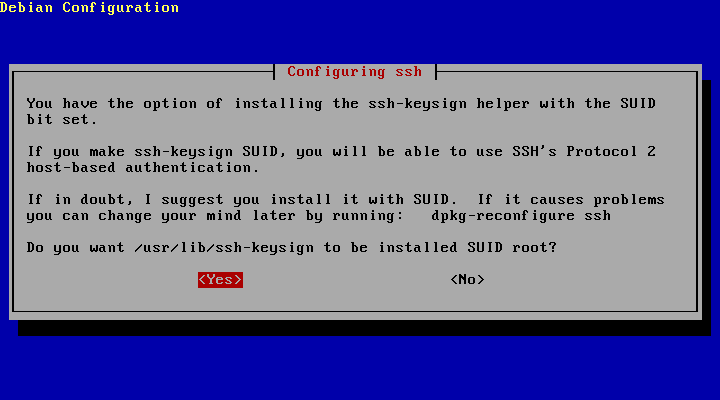
Say yes you want to use SUID.
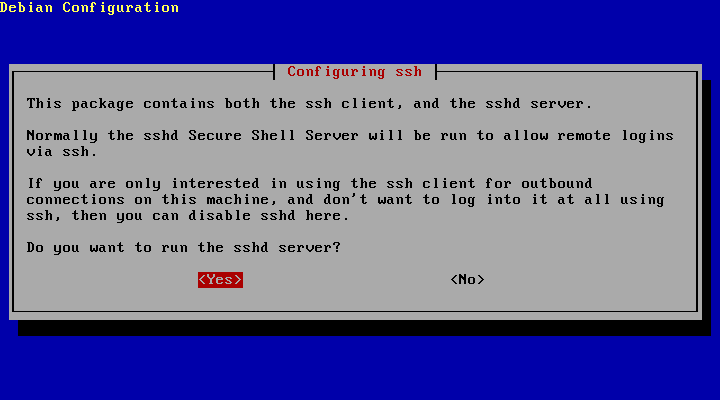
I wanted to be able to SSH to my firewall since it has no screen or keyboard, so I said yes.
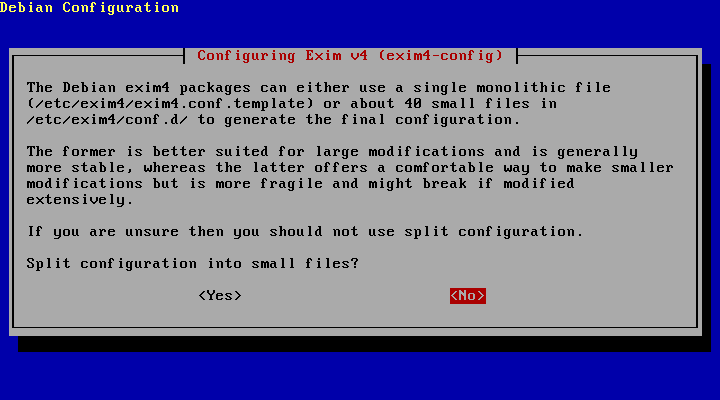
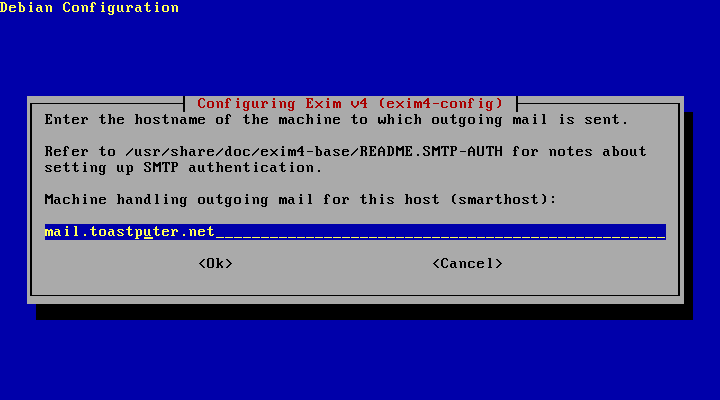
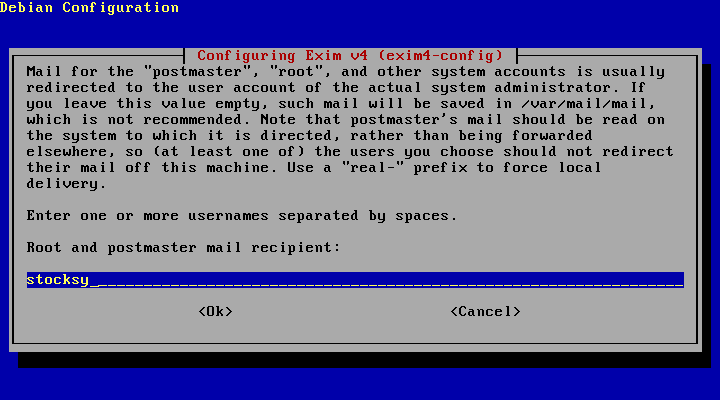
The MTA is in charge of email for your system. You might want to be able to use logwatch or snort to email you reports, so it's worth setting up. Say that you don't want a split config.
I already have a mail server, so I chose to use a smarthost (a smarthost is a mail server that sends mail on your behalf). If you don't have a mail server, or dont want email, just choose 'local delivery only'. (You'll miss out the next few steps.)

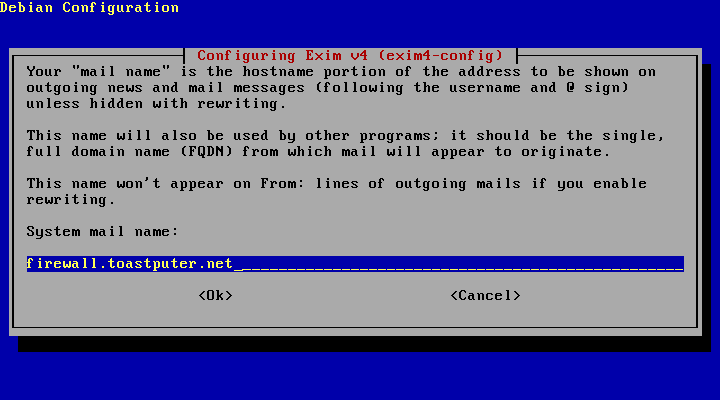
Choose a hostname that you want your mail to come from. It doesn't really matter what you choose.
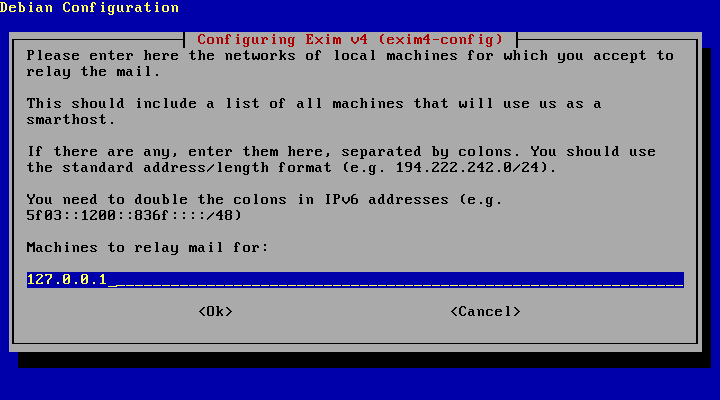
Use 127.0.0.1, since you proably don't want your firewall to receive email from other hosts.

Accept the default for mail destinations - you don't want to receive email.

You don't want to relay mail for anyone else
Finally, enter the IP or hostname of your smarthost
Accept the default.
Hooray, Debian is installed! When you press enter, you'll be asked to log in without any of that rebooting nonsense.

Configuration
Behold the exciting login screen. Log in as root (just this once!). When you enter a password it does not echo (show up on the screen).

I prefer to use vi when I edit text. If you're used to pico, just use nano which works the same. Be sure to invoke it as
nano -w to stop it from inserting extra line breaks.
The version of vi on your new Debian system is a bit different to the vim on OS X, so lets install vim. Type:
apt-get install vim
Answer 'y' when asked if you want to continue.
You just used APT to install vim. APT is the tool that is used to manage (de)installation of software packages on the system and also for upgrading to new releases of Debian.
Update the list of packages that are available for installation:
apt-get update
Update all of the currently installed packages to the newest stable version:
apt-get upgrade
Install a new package:
apt-get install [package]
Remove an installed package:
apt-get remove [package]
/etc/apt/sources.list controls what packages are available and from where. By default it downloads 'stable' packages,
but I prefer to have it retrieve a specific distribution so that I can control when to upgrade when a new release comes out. The
actual packages downloaded are the same, this is just a 'housekeeping' thing I guess. I do this by replacing every occurence of
stable with sarge in /etc/apt/sources.list. In vi, I do this by typing:
:% s/stable/sarge/g
Also, remove any lines starting deb cdrom. Remember to do an apt-get update afterwards.
This is my sources.list:
deb http://ftp.uk.debian.org/debian/ stable main non-free

deb-src http://ftp.uk.debian.org/debian/ stable main non-free

deb http://security.debian.org/ stable/updates main non-free
So we don't need to log in as root, let's install sudo. You guessed it,
apt-get install sudo
Now, type visudo - this is a binary especially for editing sudoers. Add yourusername ALL=(ALL) ALL to the file
so that it's like this:
# /etc/sudoers

#

# This file MUST be edited with the 'visudo' command as root.

#

# See the man page for details on how to write a sudoers file.

#


# Host alias specification


# User alias specification


# Cmnd alias specification


# User privilege specification

root    ALL=(ALL) ALL

yourusername        ALL=(ALL) ALL
Log out and log back in again as your normal user. You can now use sudo to do stuff as root and sudo -s
to get a prompt as root.
You need a root prompt now, so type
sudo -s
Shorewall is a great front end for iptables, the Linux Kernel's firewall.
apt-get install shorewall
Also, you'll need the sample configuration files for shorewall.
cd

wget http://www1.shorewall.net/pub/shorewall/Samples/samples-2.2.0/two-interfaces.tgz

tar zxf two-interfaces.tgz

mv two-interfaces/* /etc/shorewall

chown -R root:root /etc/shorewall
Next, you need to think about how you are going to set up your IP addresses. I decided to do it like this:
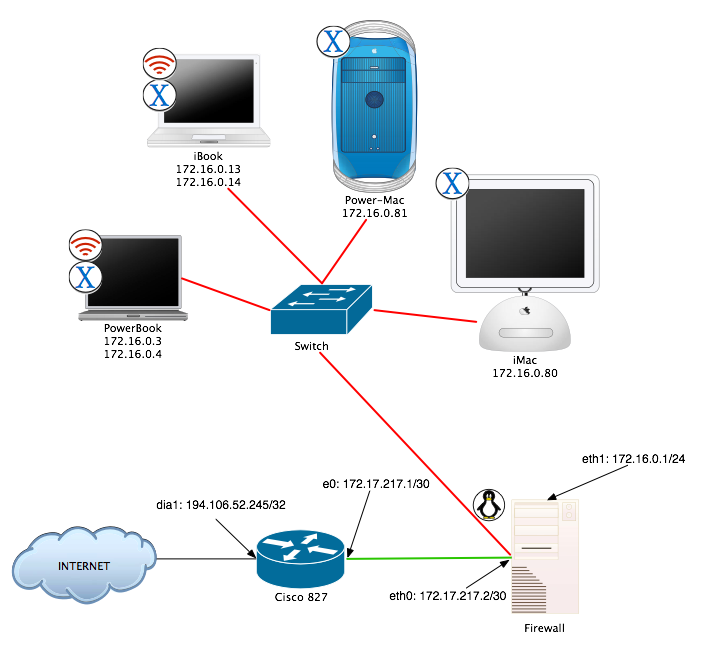
My external IP address, 194.106.52.245 is statically assigned by my ISP. My Cisco 827 does one-to-one nat from this address to 172.17.217.1 on e0. It uses this config. Note that 172.16.217.0/30 is a private (RFC1918) IP range. My internal network is 172.16.0.1/24. The firewall is connected to the local network through eth1 and to the 827 by eth0.
By default, eth1 is disabled and eth0 is assigned an address by DHCP. This may or may not be what you want. In my setup, the internet side, 172.17.217.2, is static, so I want to fix it. You may wish to leave it as DHCP. The address on eth1 must always be statically assigned. All this is done by editing /etc/network/interfaces
# The loopback network interface

auto lo

iface lo inet loopback


# The external network interface

auto eth0

iface eth0 inet static

		address 172.17.217.2

		netmask 255.255.255.252

		network 172.17.217.1

		broadcast 172.17.217.3

		gateway 172.17.217.1


# If your external IP is assigned by DHCP use this instead:

# auto eth0

# iface eth0 inet dhcp


# The internal network interface

auto eth1

iface eth1 inet static

		address 172.16.0.1

		netmask 255.255.255.0

		network 172.16.0.0

		broadcast 172.16.0.255
Also, /etc/resolv.conf needs changing to list your or your ISP's DNS server (or both).
search local

nameserver 172.16.0.81

nameserver 194.106.56.6

nameserver 194.106.33.42
Now, type
sudo /etc/init.d/networking restart
this applies the configuration to the
interfaces. Check it with sudo ifconfig
Let's configure the firewall itself. Essentially, just follow this guide. The only thing not covered here is that if your external IP address is RFC1918 private like mine, you need to do this:
sudo -s

cd /etc/shorewall

cp /usr/share/shorewall/rfc1918 .
Edit /etc/shorewall/rfc1918 and add a line near the bottom like:
172.17.217.0/30 RETURN
Once you've worked through the guide, type shorewall start to start the firewall. The
firewall will spew messages all over the console whenever it blocks a packet. This can be useful for
a start, but annoying after a while. To get rid of them, stop shorewall with shorewall clear
. Now edit /etc/init.d/klogd and find the line KLOGD="". Change
it to KLOGD="-c 5". Now, restart klogd with /etc/init.d/klogd restart
and restart shorewall with shorewall restart.
By default, shorewall does not start on boot. You probably want it to. Edit
/etc/default/shorewall and change startup=0 to startup=1.
If you set the firewall to net policy to REJECT in /etc/shorewall/policy, you'll want
to allow the firewall to access stuff by inserting some lines into /etc/shorewall/rules
#Ping

AllowPing       fw              loc

AllowPing       fw              net


#Telnet to 827

AllowTelnet     fw              net:172.17.217.1


#Allow FTP to Internet

AllowFTP        fw              net


# Allow HTTP to Internet

AllowWeb        fw              net


# Allow DNS

AllowDNS        fw              loc


# Allows NTP

ACCEPT          fw              net     udp     123
Don't forget to shorewall restart to apply the changes.
Let's tackle DHCP next.
apt-get install dhcp
The dhcp daemon's config is stored in /etc/dhcpd.conf.
#Set your domain name and the address of your (or your ISP's) DNS server

option domain-name "local";

option domain-name-servers 172.16.0.81;


#You need a subnet declaration for the internal interface

subnet 172.16.0.0 netmask 255.255.255.0

		{

		range 172.16.0.200 172.16.0.250;

		option subnet-mask 255.255.255.0;

		option broadcast-address 172.16.0.255;

		option routers 172.16.0.1;

		default-lease-time 600;

		max-lease-time 7200;

		}


#Specific hosts can be given reservations like this:

host iMac

		{

		hardware ethernet 00:03:93:a2:2b:5e;

		fixed-address 172.16.0.80;

		}
You must tell dhcpd to listen only on eth1 or it won't work. Edit /etc/default/dhcp,
changing INTERFACES="" to INTERFACES="eth1".
Restart dhcpd with /etc/init.d/dhcp restart.
Have fun with your firewall. If you have problems, tail -f /var/log/syslog is your
friend!